Bitwig Studio MANUAL
ArrangerKing is designed to provide support and inspiration when you need to get things done in the arrangement phases using Bitwig Studio.
- We refer to the white shapes in ArrangerKing as 'Buildings'
- When we write 'Song', we mean the final output you'll complete.
- 'Parts' are Arrangement Parts such as 'Chorus' or 'Drop'.
When functions are comparable between different DAW's we provide screenshots from Ableton Live in all manuals.
If you experience challenges using ArrangerKing with Bitwig Studio please let me know
THE BASICS
Download and install ArrangerKing: Open Bitwig Studio and add it to any track; ArrangerKing is technically "an effect plugin". Open the ArrangerKing window.
- Press Play in Bitwig Studio. The red Playhead Marker in ArrangerKing will move from left to right.
- Use the +/- buttons at the top of the ArrangerKing window to cycle through arrangements by length.
- Different parts of an arrangement are named depending on the genre selected in the top left dropdown.
- Right-click on parts to edit or rename them. Renaming will select the "UserDefined genre"
- Change part lengths by left-clicking on the boxes below "the buildings".
- Use the handles above "the buildings" to make custom shapes.
- Hover the line at the middle of buildings to be able to drag-drop reorganize buildings.
Resizing, Renaming and Moving parts is some of the newer functions introduced:

COLOR CODED BUILDINGS
Click on the ArrangerKing logo and select 'Color Coded Buildings' for an alternate view.

More Color options
Shift+Click on the Palette icon on the lower left side to enable match of top & bottom colors

Making a Guide Track
An ArrangerKing Guide Track can help with overview and marker placing. It's created with a drag-and-drop:
- Create an empty MIDI / Instrument track, and add ArrangerKing to the track.
- Drag-drop the Guide Track icon to the track as shown.
Right click on the Guide Track icon BEFORE DRAGGING
Guide Tracks come in different varieties—both MIDI and Audio—and by right-clicking or choosing them from the Logo menu, you can use any other method as well.
They’re basically a hack because most DAWs are unable to display graphics, but it’s really nice to have this functionality inside the DAW rather than just in a separate window.
It works awesome, but of course what’s on the track isn’t sound you want to listen to. So, if it’s MIDI, make sure you have no instruments on the track; if it’s Audio, route the track to SEND ONLY (or mute it in another way).
If your DAW has trouble with one format (for example, Studio One sometimes has issues importing MIDI files), just use Audio instead.
MUTE PATTERNS
- Open a fresh project in Bitwig Studio and create 2 tracks: One with a Drum loop, and one with a Bass loop, for example. It doesn't matter if they’re MIDI or Audio.
- Add ArrangerKing to both these tracks. But only 1 ArrangerKing on each track.
- Loop both tracks, but not by setting up loop markers so the playhead is starting over and over: Repeat the bass and drum many, many times, enough to have an entire song's worth of loops, like as if you were making a very boring, long song.
- Move your mouse over one of the white shapes ('Buildings') in one of the ArrangerKing windows, and Left Click with your mouse: The part goes dark. If the part is a 'Verse', and the arrangement you chose has more verses, they will also go dark.
- Note how when the ArrangerKing playhead is over a dark area, the track it's on is muted. If you are on the Bass track, go to the Drum track to set up mutes there.
- When you mouse over a white part of a building, you will see dark triangles appearing on the sides of it. Try to drag these. They are used to partly mute verses for example.
- Hovering over the far left or right side of the blue background behind the buildings reveals two additional dark triangles. Try dragging them.
This important: It's how you make for example the tambourine only play in the last part of the song, it's how you make things build up and make not only good arrangments, but great and interesting tracks: Mute most things in the beginning.
Click on the ARRANGERKING Logo FOR SETTINGS
Mute Resolution:
By default, ArrangerKing will move the mute triangles by one bar. You can change this setting in the settings menu.
Mute Smoothing:
While muting, ArrangerKing automatically fades in and out your track, preventing clicks or pops that would interfere with your mix. The default smoothing is balanced, providing a clean fade, without destroying drum transients. If you need perfectly clean transients, or
softer transitions, you can change the smoothing length under “Mute Smoothing" in the menu settings.
INDIVIDUAL TRACKS FOR INDIVIDUAL PARTS
- Gives you an optimal setup for mixing later
- Allows Individual effect stacks for arrangement parts
- Unlocks full ArrangerKing functionality


What if my loops don't match in length?
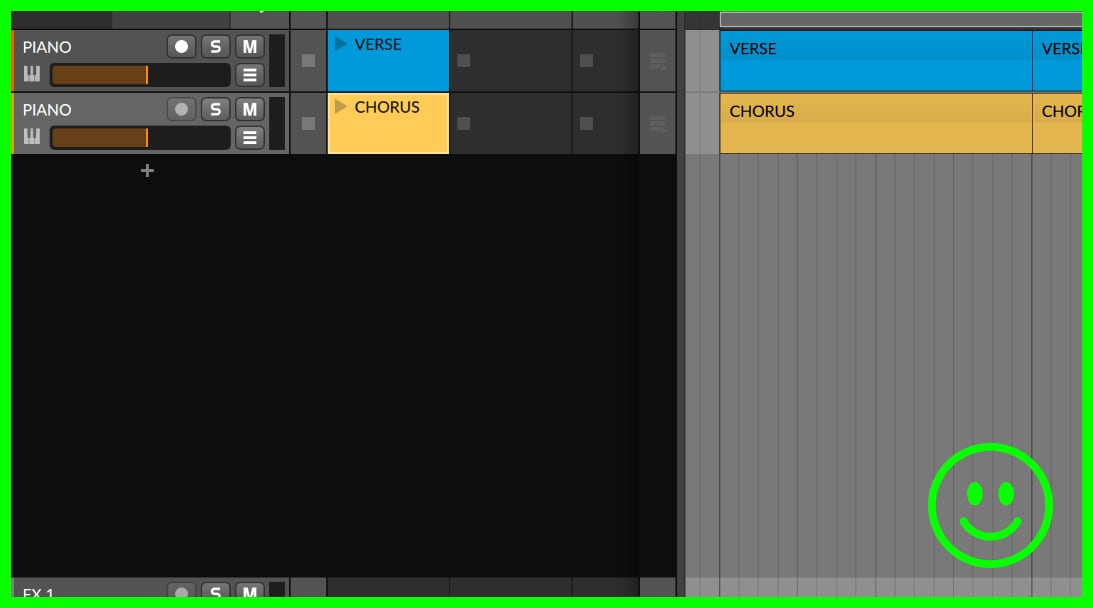
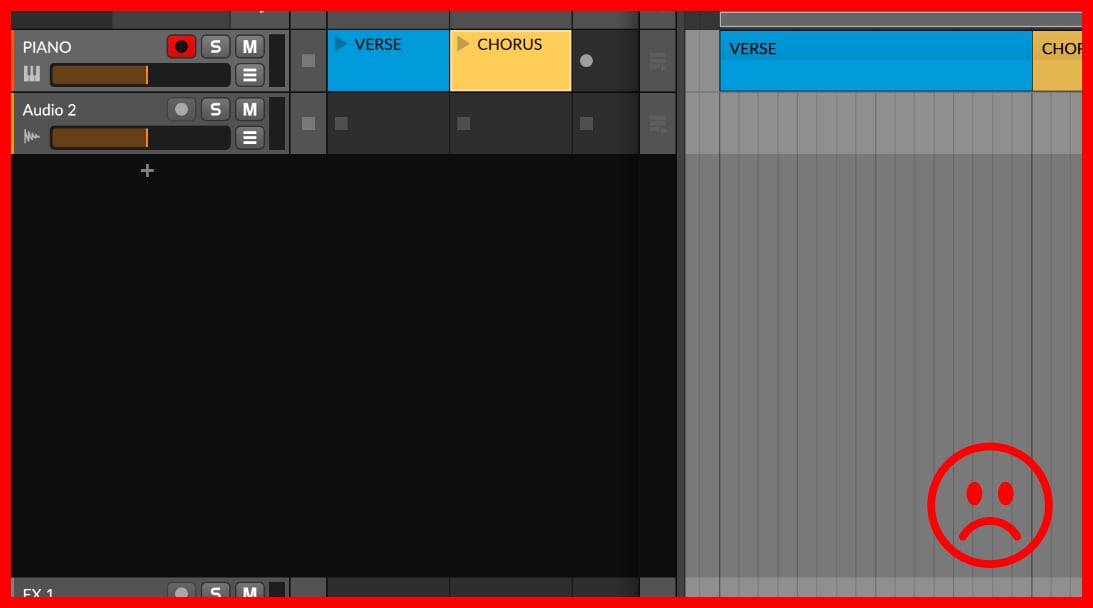
When needed you can move looping parts in place in Bitwig Studio and also add new tracks that are not looped, with for example effects, vocals etc. This is a good opportunity to use a Guide Track
ARRANGING MODULAR SYNTHS AND ACOUSTIC INSTRUMENTS

- Select a track and arm it like you'd normally do before recording. Add ArrangerKing to the track.
- Select with the white buildings in ArrangerKing what you plan to be recording (Choruses for example).
- Record like you normally would do, but try and record the entire song: You do not have to copy parts or use loops.
- If you are recording synths (software or real instruments as audio), make sure to turn some knobs while recording your song:
Take advantage of the freedom to adjust knobs to new positions when ArrangerKing's playhead is in muted areas.
Seamless cuts
If you place ArrangerKing as the last plugin in your effects stack, cutoffs will be instant. However, if you place it as the first plugin and, for example, add a delay effect afterward, the delay will ring out even after ArrangerKing has muted the track.
ARRANGEMENTS FROM REFERENCE TRACKS
Learn how to extract arrangments from reference tracks:
Find a straightforward pop song, load it into Bitwig Studio as an audio track and add ArrangerKing to the track.
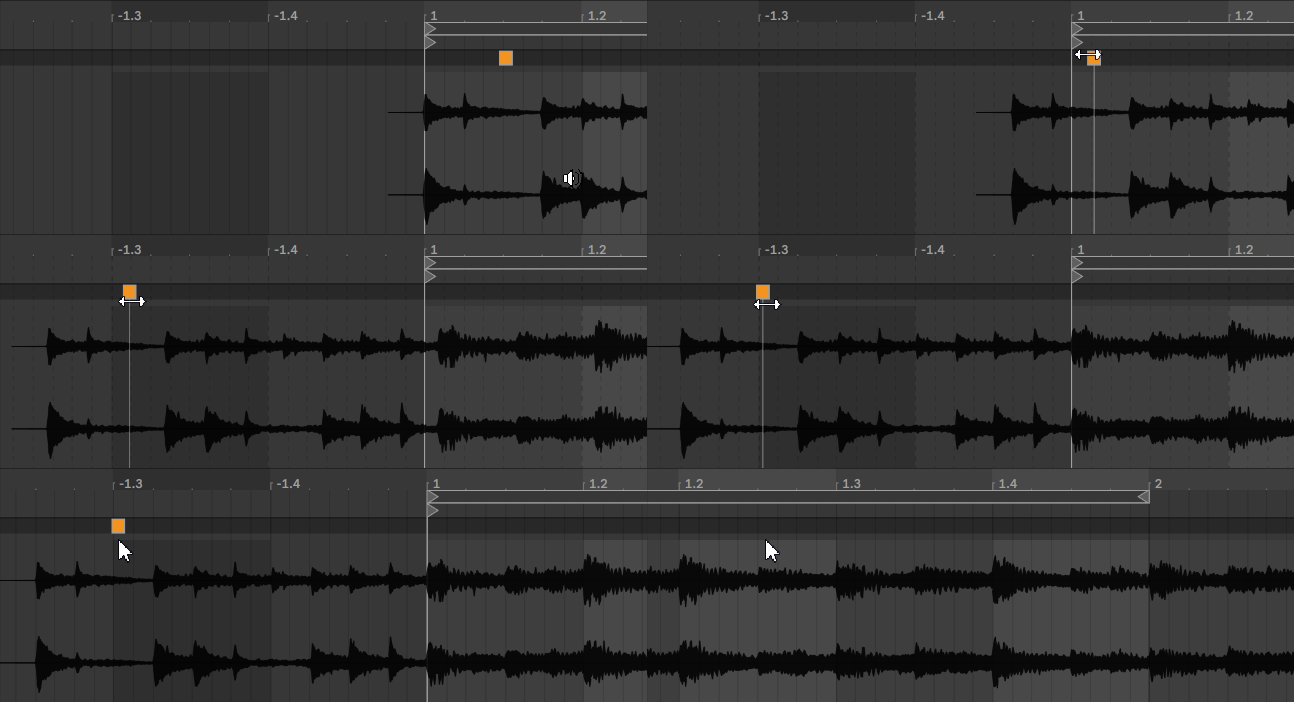
Here's an example of some drums that was added to the beginning of the song.
They are not part of the arrangement, the arrangement starts only when patterns emerge. Cut your audio to start there.

- If Bitwig Studio hasn't automatically set the tempo, search online for the BPM of the song and set it in Bitwig Studio.
- Choose "Pop/Rock/Disco" as the genre in ArrangerKing even if the song you rip is another genre, as the naming in "Pop/Rock/Disco" is what's used in the cheat sheet here. You can change genre later in the top-left dropdown.
- Press Play, and as the playhead hovers over a part, left-click and right-click the boxes below the buildings in ArrangerKing until they match what you hear in type and length.
- Sometimes, play the tracks really fast to hear the sections more easily.
- Look at the examples page for inspiration.
Having problems? Make a request in the forum to get a track ripped :)
Try to import an arrangement
Rick_Astley_Never_Gonna_Give_You_Up$ArrangerKing$30hTlrTRFS8qwfv5T$
ArrangerKing cheat sheet
INTRO: Is it distinctive, playing at the beginning of the song?
It's an Intro. Not all songs have one.
Can you not make it fit with the pre-defined lengths in ArrangerKing? Cut off more or less from the start as producers tend to slap on various extra stuff before the actual arrangement kicks in.
Sometimes the intro is re-introduced
VERSE: Does it feature the same melody or catchy chord progression repeated with variations?
Mark it as Verse.
BRIDGE: Is it toned more down than the verse, or does it feel like you've found a separate part that wont fit in elsewhere, maybe a filler part or is something apparently causing a verse to be an odd length?
Mark it as a Bridge. Thats what we call them parts here!
PRE-CHORUS: Does it build tension leading towards the chorus - or do you have problems matching what you think is the chorus with the fixed lengths in ArrangerKing?
You've found a Pre-Chorus. They can be sneaky.
They're sometimes used as teasers without being attached to a chorus the first time.
CHORUS: Is it the most memorable and repetitive part, containing the main theme, probably the name of the song?
That's the Chorus.
SOLO/BREAK: Is there a focus on instrumental performance or a significant vocal but not the most memorable part, and does it sound different from everything else?
It's a Solo/Break.
OUTRO: Does it conclude the song, possibly by repeating elements from other sections but tapering off in volume or intensity and perhaps all sorts of everything introduced on top of each other?
You have an Outro. Not all songs have one.
AIR: Is it an effect, or rhythmic break or round and are you sure it will not fit into the rest of the arrangment if you try to re-think the other parts?
You .. may have found what we call Air. Be really sure as only very few songs have them and wrongly inserting for example a verse+bridge -combo as Air can spoil an elsewise elegant solution. So Air parts are rare, but they exist, and they sometimes are what makes a rock song have "an extra round of guitar" at the end of a verse for example.
SHARING ARRANGEMENTS
- You can save, import, export, and share arrangements as text strings or image files after pressing 'Share' in ArrangerKing.
- If you see an ArrangerKing share string like this:
Rick_Astley_Never_Gonna_Give_You_Up$ArrangerKing$30hTlrTRFS8qwfv5T$
somewhere you can simply copy that string, and press Import -> Paste inside ArrangerKing. - You can also save arrangements as images. Image files can be drag-dropped directly into other applications or your desktop. The name of the file can recall the arrangement.
- Look at the examples page for inspiration.
Tips and TRICKS
Achieve Sharp Breaks in a Click
Try adding ArrangerKing to your effect tracks. Then when your music for example is on a break for the last bar with everything muted but the kick and a reversed crash, also mute the effect tracks with ArrangerKing. You'll hear how muting any delay and reverb instantly will make a crisp break.
MUTE/UNMUTE ALL BUILDINGS
Shift/Ctrl click on the blue background behind "the white buildings to quickly mute/unmute the entire track.
MUTE PATTERN on the master track
In some live sessions, it might be useful to mute everything, and this can easily be done by simply adding ArrangerKing on the Master Track and for example mute the last part of a Drop. Or make the Outro twice the needed length and mute it halfway through.
Use free text to find your arrangements
Under the Arrangement button, you can use the Save As feature to rename your arrangements, adding, for example, "TRAP" as a prefix or suffix in their names. Once renamed, you can use the fuzzy search in the Template Selector (dropdown) to type "TRAP" and quickly find and group all arrangements containing this "tag" in their names.
Place ArrangerKing on Group tracks
If you group tracks, you can control their muting with one instance of ArrangerKing by simply placing it on the group.
HOW TO ACCESS ALL YOUR ARRANGEMENTS
Your Arrangements are all stored in a text file so you can easily share them all, store them all, move them all to another computer, or maybe even do some spring cleaning. You access them here:
OSX:
~/Library/Application Support/ArrangerKing
Windows:
%appdata%\ArrangerKing
Is your DAW set to start later than zero?
Click on the Logo -> DAW start position to for example enable an 8 bar pause or "shift" before playtime.